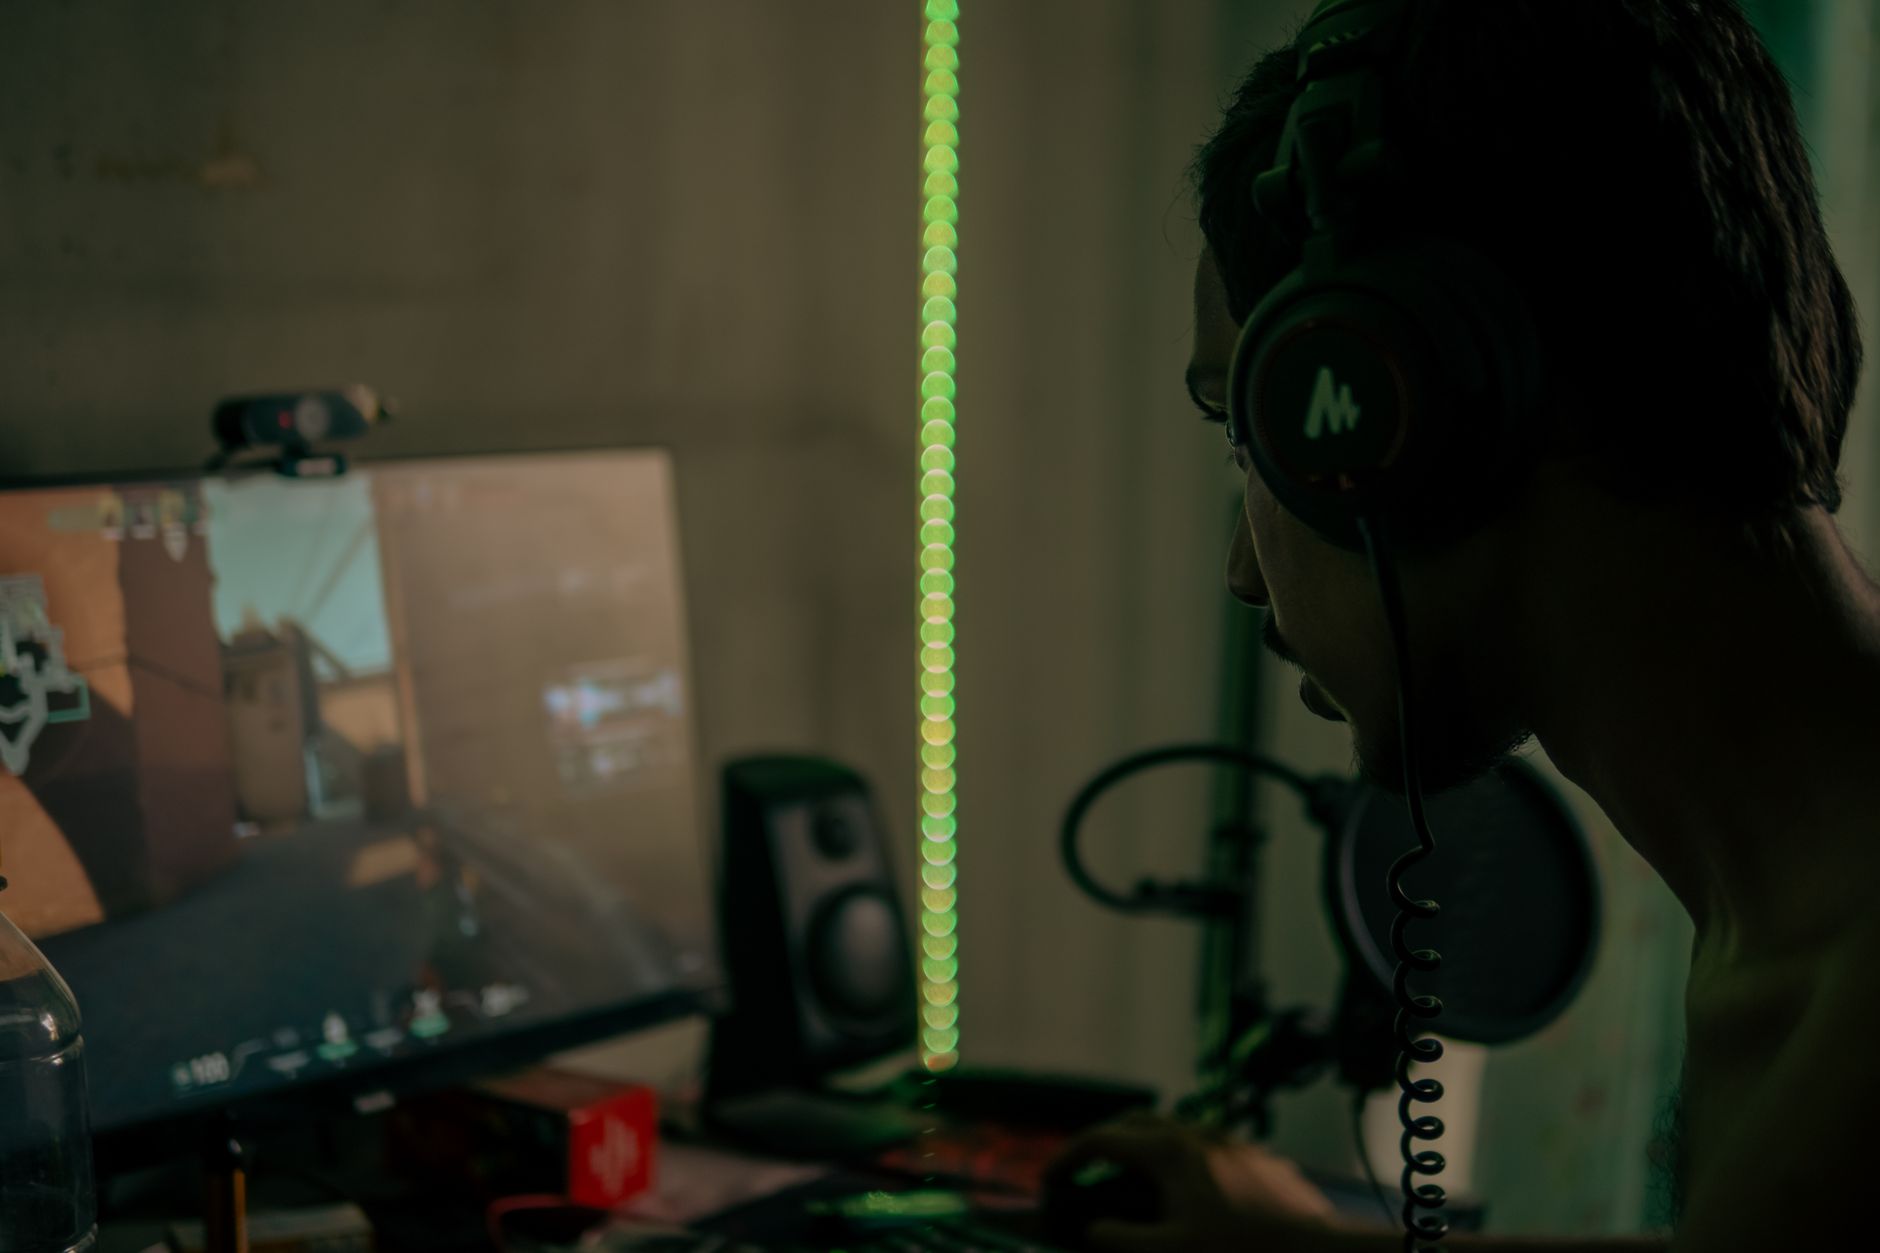
What You'll Learn in This Guide
Game streaming has become one of the most popular ways to share your gaming passion while potentially earning income. Whether you dream of building a community around your favorite games or simply want to share epic moments with friends, this guide will take you from complete beginner to confident streamer.
You'll discover how to set up your streaming equipment, choose between Twitch and YouTube, configure broadcasting software, and build an engaged audience. By the end of this guide, you'll have everything needed to start your first live stream and grow your channel strategically.
What You'll Need Before Starting
Essential Equipment Checklist
Computer Requirements:
- Gaming computer capable of running games smoothly (minimum 8GB RAM, dedicated graphics card recommended)
- Stable internet connection (minimum 5 Mbps upload speed for 720p streaming)
- Webcam (built-in laptop camera works for beginners, external USB webcam preferred)
- Microphone (headset microphone acceptable, dedicated USB microphone recommended)
Optional but Helpful:
- Dual monitor setup (allows you to monitor chat while gaming)
- Good lighting (desk lamp or ring light improves video quality)
- Gaming headset with noise cancellation
- Stream deck or macro keys for quick controls
Software You'll Need (All Free)
- OBS Studio - Free, open-source streaming software
- Twitch account and/or YouTube channel
- Discord - For community building and viewer interaction
- Game recording software (often built into graphics card software)
Step 1: Choose Your Streaming Platform
Twitch vs YouTube: Key Differences
Twitch Advantages:
- Designed specifically for gaming content
- Live chat culture encourages real-time interaction
- Emotes and channel points create engaging community features
- Lower barrier to entry for new streamers
- Built-in monetization through subscriptions and bits
YouTube Advantages:
- Recorded content reaches wider audiences through search
- Better long-term discoverability
- Multiple revenue streams (ads, memberships, Super Chat)
- Integration with existing YouTube ecosystem
- More professional streaming tools and analytics
Making Your Choice
For complete beginners, start with Twitch if you want immediate community interaction and plan to stream regularly. Choose YouTube if you also want to create edited gaming videos or prefer platform stability.
Pro Tip: Many successful streamers use both platforms simultaneously or start on one and expand to the other later.
Step 2: Set Up OBS Studio
Download and Install OBS
- Visit obsproject.com and download the latest version
- Run the installer and follow default installation options
- Launch OBS Studio for the first time
- Run the Auto-Configuration Wizard (appears automatically)
- Select "Optimize for streaming" and choose your platform
- Let OBS test your system and apply recommended settings
Create Your First Scene
Scenes in OBS are like different "shots" for your stream. Think of them as preset layouts you can switch between.
- Create Game Capture Scene:
- Click the "+" button in the Scenes box
- Name it "Gaming" or your game's name
- Click "OK" to create the scene
- Add Game Source:
- In the Sources box, click "+" and select "Game Capture"
- Name it "Game" and click "OK"
- Set Mode to "Capture specific window" for better performance
- Launch your game, then select it from the Window dropdown
- Click "OK" to save
- Add Webcam:
- Click "+" in Sources, select "Video Capture Device"
- Name it "Webcam" and click "OK"
- Select your camera from the Device dropdown
- Adjust resolution to 720p or 1080p
- Position and resize the webcam window in the preview
- Add Microphone:
- Click "+" in Sources, select "Audio Input Capture"
- Name it "Microphone" and click "OK"
- Select your microphone from the Device dropdown
Configure Audio Settings
Proper audio setup prevents echo, background noise, and volume issues that drive viewers away.
- Set Audio Levels:
- Your microphone should peak around -12dB to -6dB (yellow zone)
- Game audio should be lower than your voice
- Use the mixer panel to adjust levels while testing
- Add Noise Suppression:
- Right-click your microphone in the Audio Mixer
- Select "Filters"
- Click "+" and add "Noise Suppression"
- Set method to "Speex" for most situations
Step 3: Connect Your Streaming Platform
For Twitch Streaming
- Get Your Stream Key:
- Log into Twitch and go to Creator Dashboard
- Click "Settings" then "Stream"
- Copy your "Primary Stream Key" (keep this private)
- Configure OBS for Twitch:
- In OBS, go to File → Settings → Stream
- Select "Twitch" as your service
- Paste your stream key
- Click "Apply" then "OK"
For YouTube Streaming
- Enable Live Streaming:
- Go to YouTube Studio
- Click "Create" → "Go Live"
- Verify your channel with a phone number if prompted
- Wait 24 hours for live streaming to activate (first-time setup)
- Get Stream Key:
- In YouTube Studio, click "Go Live"
- Select "Streaming software"
- Copy the "Stream Key"
- Configure OBS for YouTube:
- In OBS Settings → Stream
- Select "YouTube - RTMPS"
- Paste your stream key
- Click "Apply" then "OK"
Step 4: Optimize Your Stream Settings
Video Quality Settings
These settings balance quality with your internet speed and computer performance:
For 720p Streaming (Recommended for beginners):
- Base Resolution: 1920x1080
- Output Resolution: 1280x720
- Downscale Filter: Lanczos
- FPS: 30 (60 for competitive games)
For 1080p Streaming (Requires strong internet and PC):
- Base Resolution: 1920x1080
- Output Resolution: 1920x1080
- FPS: 30 or 60
Encoder Settings
- Go to Settings → Output:
- Set Output Mode to "Simple"
- Video Bitrate: 2500 for 720p, 4500 for 1080p
- Encoder: Use "Software (x264)" if unsure
- Audio Bitrate: 128
- Test Your Settings:
- Start a test stream to yourself
- Check if your game runs smoothly
- Monitor your internet upload usage
- Adjust bitrate down if you experience lag
Common Performance Issues
If Your Game Lags While Streaming:
- Lower your game's graphics settings
- Reduce stream resolution to 720p
- Close unnecessary programs
- Use "Game Mode" in Windows settings
If Your Stream Looks Pixelated:
- Increase video bitrate (if your internet can handle it)
- Lower your game's resolution
- Reduce fast-moving scenes or rapid camera movements
Step 5: Create Engaging Stream Content
Plan Your Stream Structure
Successful streams have a loose structure that keeps viewers engaged:
- Pre-Stream (5-10 minutes):
- Display "Starting Soon" screen
- Play background music
- Test all equipment
- Prepare game and any notes
- Stream Opening (5 minutes):
- Greet viewers enthusiastically
- Explain what you're playing today
- Acknowledge returning viewers by name
- Set expectations for the stream length
- Main Content (1-4 hours):
- Focus on gameplay while maintaining conversation
- Read and respond to chat regularly
- Share your thoughts about game mechanics, story, graphics
- Take short breaks every hour
- Stream Closing (5 minutes):
- Thank viewers for watching
- Announce your next stream schedule
- Remind viewers to follow/subscribe
- End on a positive, memorable note
Interact with Your Audience
Chat Engagement Techniques:
- Read viewer names aloud when greeting them
- Ask questions about their gaming experiences
- Explain your decision-making process in games
- React genuinely to chat messages and game events
- Create inside jokes and recurring themes
Pro Tip: Even with zero viewers, narrate your gameplay as if people are watching. This builds good habits and makes you more entertaining when viewers do arrive.
Step 6: Build Your Channel Brand
Choose Your Niche
Specializing helps viewers know what to expect and builds a loyal community:
Popular Gaming Niches:
- Single game mastery (becoming known for one specific game)
- Genre specialization (only RPGs, only horror games, only indie games)
- Skill-based content (tutorials, speedruns, challenge runs)
- Variety gaming with consistent personality
- Retro gaming and nostalgic content
Create Consistent Visual Branding
Essential Graphics (Create Simple Versions First):
- Channel banner/header image
- Profile picture or logo
- "Starting Soon" screen for streams
- "Be Right Back" screen for breaks
- Thank you screen for follows/subscriptions
Free Design Tools:
- Canva (templates specifically for Twitch and YouTube)
- GIMP (free Photoshop alternative)
- Streamlabs (built-in overlay creator)
Develop Your Streaming Personality
Authenticity matters more than perfection. Focus on amplifying your natural traits:
- Be consistently yourself - viewers follow personalities, not just gameplay
- Stay positive - even during frustrating game moments
- Show genuine enthusiasm - passion is contagious
- Learn from mistakes - admit when you mess up and laugh it off
- Create memorable catchphrases - natural sayings that become your signature
Step 7: Grow Your Audience
Streaming Schedule Strategy
Consistency builds viewer habits and platform algorithm favor:
- Choose Realistic Schedule:
- Start with 2-3 streams per week
- Pick specific days and times
- Aim for 2-4 hour sessions initially
- Announce schedule clearly on all platforms
- Optimal Streaming Times:
- Twitch: Evenings in your timezone (7-11 PM)
- YouTube: Afternoons and evenings work well
- Avoid oversaturated peak hours when starting
- Test different times to find your audience
Networking and Community Building
Connect with Other Streamers:
- Join Discord servers for your game communities
- Participate in other streams' chats genuinely
- Collaborate with streamers at similar levels
- Support others without expecting immediate reciprocation
Use Social Media Effectively:
- Share highlights and funny moments on Twitter/X
- Post screenshots and short clips on Instagram
- Create TikTok content from stream highlights
- Engage with gaming communities on Reddit
Content Beyond Live Streaming
YouTube Integration (Even if You Stream on Twitch):
- Upload stream highlights as edited videos
- Create tutorial content for your main games
- Share gaming opinions and reviews
- Behind-the-scenes content about streaming setup
Troubleshooting Common Problems
Audio Issues
Problem: Echo or Feedback
- Solution: Use headphones instead of speakers, adjust microphone gain, add noise gate filter in OBS
Problem: Microphone Too Quiet or Too Loud
- Solution: Adjust gain on microphone or in OBS mixer, add compressor filter for consistent volume
Problem: Game Audio Overwhelming Voice
- Solution: Lower game volume in-game and in OBS mixer, boost microphone levels
Video Quality Issues
Problem: Stream Constantly Buffering
- Solution: Lower bitrate in OBS output settings, check internet upload speed, close bandwidth-heavy applications
Problem: Choppy or Laggy Stream
- Solution: Reduce stream resolution, lower game graphics settings, restart OBS and game, update graphics drivers
Problem: Game Not Appearing in OBS
- Solution: Run OBS as administrator, use Window Capture instead of Game Capture, restart both programs
Platform-Specific Issues
Twitch Stream Not Going Live:
- Verify stream key is correct and recent
- Check if you're streaming to the right server
- Ensure account is in good standing (no recent violations)
YouTube Stream Delayed or Not Starting:
- Confirm live streaming is enabled on your account
- Check if you're using correct stream key
- Verify account has no copyright strikes
What to Do Now
You now have everything needed to start your streaming journey. Here's your immediate action plan:
This Week:
- Download and set up OBS Studio with your first scene
- Create accounts on your chosen streaming platform
- Do three practice streams to yourself to test equipment
- Plan your first real stream content and schedule
Next Two Weeks:
- Go live for your first public streams
- Create basic channel graphics and branding
- Join Discord communities for your favorite games
- Start following and engaging with other small streamers
First Month:
- Establish a consistent streaming schedule
- Analyze which games and content get the best engagement
- Create social media accounts to promote your streams
- Begin networking with other creators in your niche
Remember that every successful streamer started exactly where you are now. Focus on improving your content and consistency rather than viewer numbers in the beginning. Your unique personality and genuine passion for gaming will attract the right audience over time.
Start small, stream regularly, and most importantly, have fun sharing your gaming adventures with the world. Your streaming community is waiting to discover you.