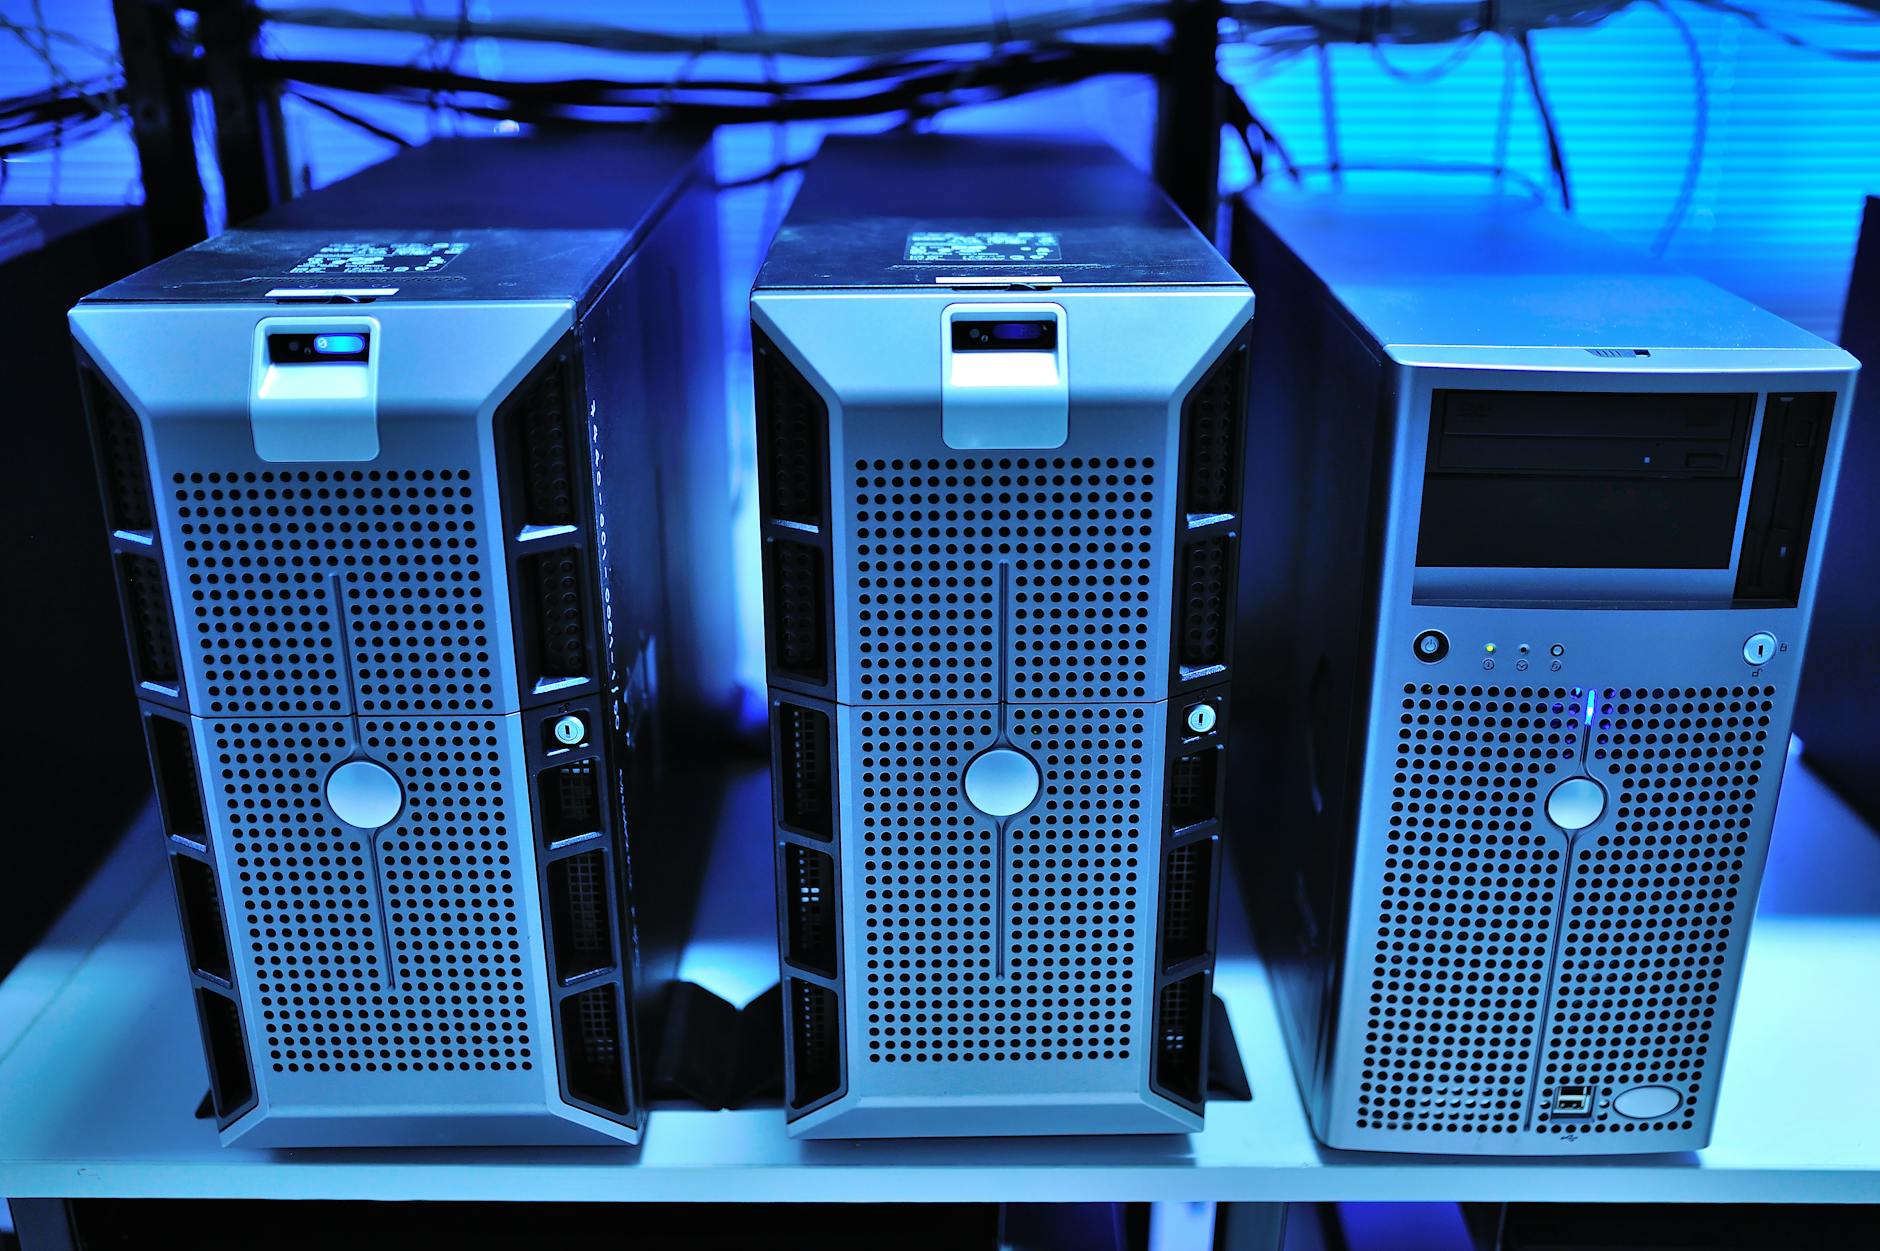
Setting up a home server opens up a world of possibilities for managing your digital life. Whether you want to stream media throughout your house, backup important files automatically, or learn valuable technical skills, a home server puts you in control of your data and services.
This guide will take you from complete beginner to running your own functional home server. You'll learn how to choose the right hardware, install an operating system, configure essential services, and maintain your server safely.
What You'll Need
Hardware Requirements
Minimum specifications for a basic home server:
- CPU: Any dual-core processor from the last 10 years
- RAM: 4GB minimum (8GB recommended)
- Storage: 500GB hard drive or SSD
- Network: Ethernet port (Wi-Fi possible but not recommended)
- Power supply: Adequate for your chosen components
Budget-friendly options:
- Repurpose an old desktop computer
- Raspberry Pi 4 (4GB+ model)
- Used business computers from local electronics stores
- Mini PCs from manufacturers like Intel NUC or similar
Software and Tools
- USB flash drive (8GB minimum) for installation
- Another computer for downloading software and creating installation media
- Ethernet cable
- Monitor, keyboard, and mouse for initial setup
Network Requirements
- Home router with available ethernet ports
- Stable internet connection
- Basic understanding of your network setup (router admin access helpful)
Step 1: Choose Your Hardware Platform
Option A: Repurpose an Existing Computer
Using an old desktop or laptop is the most cost-effective approach for beginners. Most computers from 2015 or newer will work perfectly for basic server tasks.
Check these specifications:
- Open your computer's system information
- Verify you have at least 4GB RAM
- Ensure 100GB+ free storage space
- Confirm ethernet port functionality
Option B: Raspberry Pi Setup
A Raspberry Pi offers low power consumption and quiet operation, making it ideal for always-on server tasks.
Required Raspberry Pi components:
- Raspberry Pi 4 (4GB or 8GB model)
- MicroSD card (32GB minimum, Class 10)
- Official power adapter
- Ethernet cable
- Case with adequate ventilation
Option C: Dedicated Mini PC
Mini PCs provide the best balance of performance, power efficiency, and expandability for serious home server use.
Recommended specifications:
- Intel i3 or AMD Ryzen 3 processor (or equivalent)
- 8GB RAM (upgradeable)
- 256GB SSD + larger HDD for storage
- Multiple USB ports
- Gigabit ethernet
Step 2: Select Your Operating System
Ubuntu Server (Recommended for Beginners)
Ubuntu Server provides excellent hardware compatibility, extensive documentation, and strong community support. It's free and receives regular security updates.
Why choose Ubuntu Server:
- User-friendly installation process
- Extensive online tutorials and support
- Compatible with virtually all home server software
- Long-term support versions available
Alternative Options
Debian: More stable but requires more technical knowledge
CentOS Stream/Rocky Linux: Enterprise-focused, excellent for learning
OpenMediaVault: Specialized for network-attached storage (NAS) functions
Step 3: Create Installation Media
Download Ubuntu Server
- Visit the official Ubuntu website (ubuntu.com)
- Navigate to the Server download section
- Download the latest LTS (Long Term Support) version
- Verify the download using provided checksums
Create Bootable USB Drive
Using Rufus (Windows):
- Download Rufus from rufus.ie
- Insert your USB drive
- Select the Ubuntu Server ISO file
- Choose "DD Image" mode
- Click "Start" and wait for completion
Using Etcher (Mac/Linux/Windows):
- Download Balena Etcher from balena.io/etcher
- Select your downloaded ISO file
- Choose your USB drive
- Click "Flash" to create bootable media
Step 4: Install Ubuntu Server
Initial Boot Setup
- Connect your server hardware to monitor, keyboard, and ethernet
- Insert the USB installation media
- Power on and boot from USB (may require BIOS changes)
- Select "Try or Install Ubuntu Server" from the menu
Installation Process
Language and Keyboard:
- Choose your preferred language
- Select your keyboard layout
- Test keyboard functionality when prompted
Network Configuration:
- Ubuntu will automatically detect your ethernet connection
- Accept DHCP configuration for now (you'll set static IP later)
- Leave proxy settings blank unless required
Storage Configuration:
- Select "Use entire disk" for simplicity
- Choose your primary storage device
- Confirm partitioning scheme (default LVM setup is fine)
- Warning: This will erase all data on the selected drive
Profile Setup:
- Enter your full name
- Choose a server name (e.g., "homeserver")
- Create a username (avoid "admin" or "root")
- Set a strong password (12+ characters with mixed case, numbers, symbols)
SSH Setup:
- Enable "Install OpenSSH server" - This is crucial for remote management
- Optionally import SSH keys if you have them
- Skip snap packages for now
Complete Installation
- Review all settings carefully
- Confirm installation to begin
- Wait 10-20 minutes for installation completion
- Remove USB drive when prompted
- Reboot into your new Ubuntu Server
Step 5: Initial Server Configuration
First Login and Updates
- Log in with your created username and password
- Update the system immediately:
```bash
sudo apt update && sudo apt upgrade -y
```
- Reboot if kernel updates were installed:
```bash
sudo reboot
```
Configure Static IP Address
A static IP ensures your server is always accessible at the same address.
Find your current network configuration:
```bash
ip addr show
```
Edit network configuration:
- Open the netplan configuration:
```bash
sudo nano /etc/netplan/00-installer-config.yaml
```
- Replace DHCP configuration with static settings:
```yaml
network:
version: 2
ethernets:
enp0s3: # Your interface name may differ
dhcp4: false
addresses:
- 192.168.1.100/24 # Choose an available IP
gateway4: 192.168.1.1 # Your router's IP
nameservers:
addresses:
- 8.8.8.8
- 8.8.4.4
```
- Apply the configuration:
```bash
sudo netplan apply
```
Enable SSH Access
SSH allows you to manage your server remotely from any computer on your network.
- Verify SSH is running:
```bash
sudo systemctl status ssh
```
- Test SSH connection from another computer:
```bash
```
Pro Tip: Once SSH is working, you can disconnect the monitor and keyboard and manage everything remotely.
Step 6: Essential Security Configuration
Configure Firewall
Ubuntu includes UFW (Uncomplicated Firewall) for easy security management.
- Enable UFW:
```bash
sudo ufw enable
```
- Allow SSH access:
```bash
sudo ufw allow ssh
```
- Set default policies:
```bash
sudo ufw default deny incoming
sudo ufw default allow outgoing
```
Automatic Security Updates
- Install unattended upgrades:
```bash
sudo apt install unattended-upgrades
```
- Configure automatic updates:
```bash
sudo dpkg-reconfigure unattended-upgrades
```
Select "Yes" to enable automatic security updates.
Create Additional User (Optional)
For added security, create a separate user for daily tasks:
```bash
sudo adduser serviceuser
sudo usermod -aG sudo serviceuser
```
Step 7: Install Essential Services
File Sharing with Samba
Samba allows Windows, Mac, and Linux computers to access files on your server.
- Install Samba:
```bash
sudo apt install samba samba-common-bin
```
- Create a shared directory:
```bash
sudo mkdir /home/shared
sudo chmod 777 /home/shared
```
- Configure Samba:
```bash
sudo nano /etc/samba/smb.conf
```
Add at the end:
```
[shared]
comment = Home Server Shared Folder
path = /home/shared
browseable = yes
writable = yes
guest ok = no
valid users = yourusername
```
- Create Samba user:
```bash
sudo smbpasswd -a yourusername
```
- Restart Samba and allow through firewall:
```bash
sudo systemctl restart smbd
sudo ufw allow samba
```
Media Streaming with Plex (Optional)
Plex transforms your server into a powerful media streaming platform.
- Download Plex Media Server:
```bash
wget https://downloads.plex.tv/plex-media-server-new/1.40.1.8227-c0dd5a73e/debian/plexmediaserver_1.40.1.8227-c0dd5a73e_amd64.deb
```
- Install Plex:
```bash
sudo dpkg -i plexmediaserver_*.deb
sudo apt install -f # Fix any dependency issues
```
- Allow Plex through firewall:
```bash
sudo ufw allow 32400
```
- Access Plex setup at http://your-server-ip:32400/web
Common Mistakes to Avoid
Security Oversights
- Never disable the firewall completely - Always configure specific rules
- Don't use default passwords - Change all default credentials immediately
- Avoid running services as root - Use dedicated service accounts when possible
Network Configuration Errors
- Choosing conflicting IP addresses - Check your router's DHCP range first
- Forgetting to configure DNS - Without proper DNS, internet connectivity fails
- Not documenting your setup - Keep notes of IP addresses, ports, and passwords
Hardware Considerations
- Inadequate cooling - Ensure proper ventilation, especially for 24/7 operation
- Insufficient power supply - Calculate power requirements before adding hardware
- Using unreliable storage - Invest in quality drives for important data
Troubleshooting Common Issues
Server Won't Boot
Check these items:
- Verify power connections are secure
- Ensure RAM is properly seated
- Try booting with minimal hardware (remove unnecessary cards/drives)
- Check BIOS settings for boot order
Network Connectivity Problems
Diagnostic steps:
- Test cable with another device
- Check link lights on network port
- Verify IP configuration: `ip addr show`
- Test gateway connectivity: `ping 192.168.1.1`
- Test internet access: `ping 8.8.8.8`
SSH Connection Refused
Resolution steps:
- Verify SSH service status: `sudo systemctl status ssh`
- Check firewall rules: `sudo ufw status`
- Confirm correct IP address and port
- Try connecting from the server locally first
File Sharing Not Working
Common solutions:
- Restart Samba services: `sudo systemctl restart smbd nmbd`
- Check Samba user exists: `sudo pdbedit -L`
- Verify firewall allows Samba: `sudo ufw status`
- Test configuration: `testparm`
Monitoring and Maintenance
Regular Maintenance Tasks
Weekly:
- Check system updates: `sudo apt list --upgradable`
- Monitor disk space: `df -h`
- Review system logs: `sudo journalctl --since yesterday`
Monthly:
- Clean package cache: `sudo apt autoremove && sudo apt autoclean`
- Check service status: `systemctl --failed`
- Verify backups are working
- Update installed applications
Monitoring Tools
Install htop for system monitoring:
```bash
sudo apt install htop
```
Check system resources:
```bash
free -h # Memory usage
df -h # Disk usage
top # Running processes
```
What to Do Now
Your home server is now operational and ready for expansion. Start by testing all configured services from different devices on your network. Create some test files in your shared folders and verify you can access them from your computers.
Immediate next steps:
- Set up automated backups for your important data
- Configure remote access through VPN for secure external connectivity
- Explore additional services like web hosting, home automation, or cloud storage alternatives
- Consider setting up monitoring alerts to notify you of any issues
Learning opportunities:
- Practice command-line administration to build your technical skills
- Experiment with containerization using Docker
- Learn about database management with MySQL or PostgreSQL
- Explore advanced networking concepts like VLANs and port forwarding
Remember that running a home server is an ongoing learning experience. Start with basic functionality and gradually add complexity as you become more comfortable with server administration. The skills you develop will be valuable whether you're managing your home network or pursuing a career in technology.